> For the complete documentation index, see [llms.txt](https://guide.valpashotels.com/llms.txt). Markdown versions of documentation pages are available by appending `.md` to page URLs; this page is available as [Markdown](https://guide.valpashotels.com/installation_router_smart_legs/valpas-smart-legs/configuring-smart-bed-legs-with-the-valpas-mobile-app.md).
# Configuring SafeSleep bed legs with the Valpas mobile app
This guide walks you through the process of configuring Valpas SafeSleep bed legs using the Valpas app. Please follow each step carefully to ensure proper installation and room protection.
## Step 1: Access installation mode
{% stepper %}
{% step %}
### Open the Valpas mobile app
If you don’t have the Valpas app yet, follow the instructions under [**Mobile app download**](/the-valpas-guide.md#step-1-install-the-valpas-mobile-app).
{% endstep %}
{% step %}
### Enter installation mode
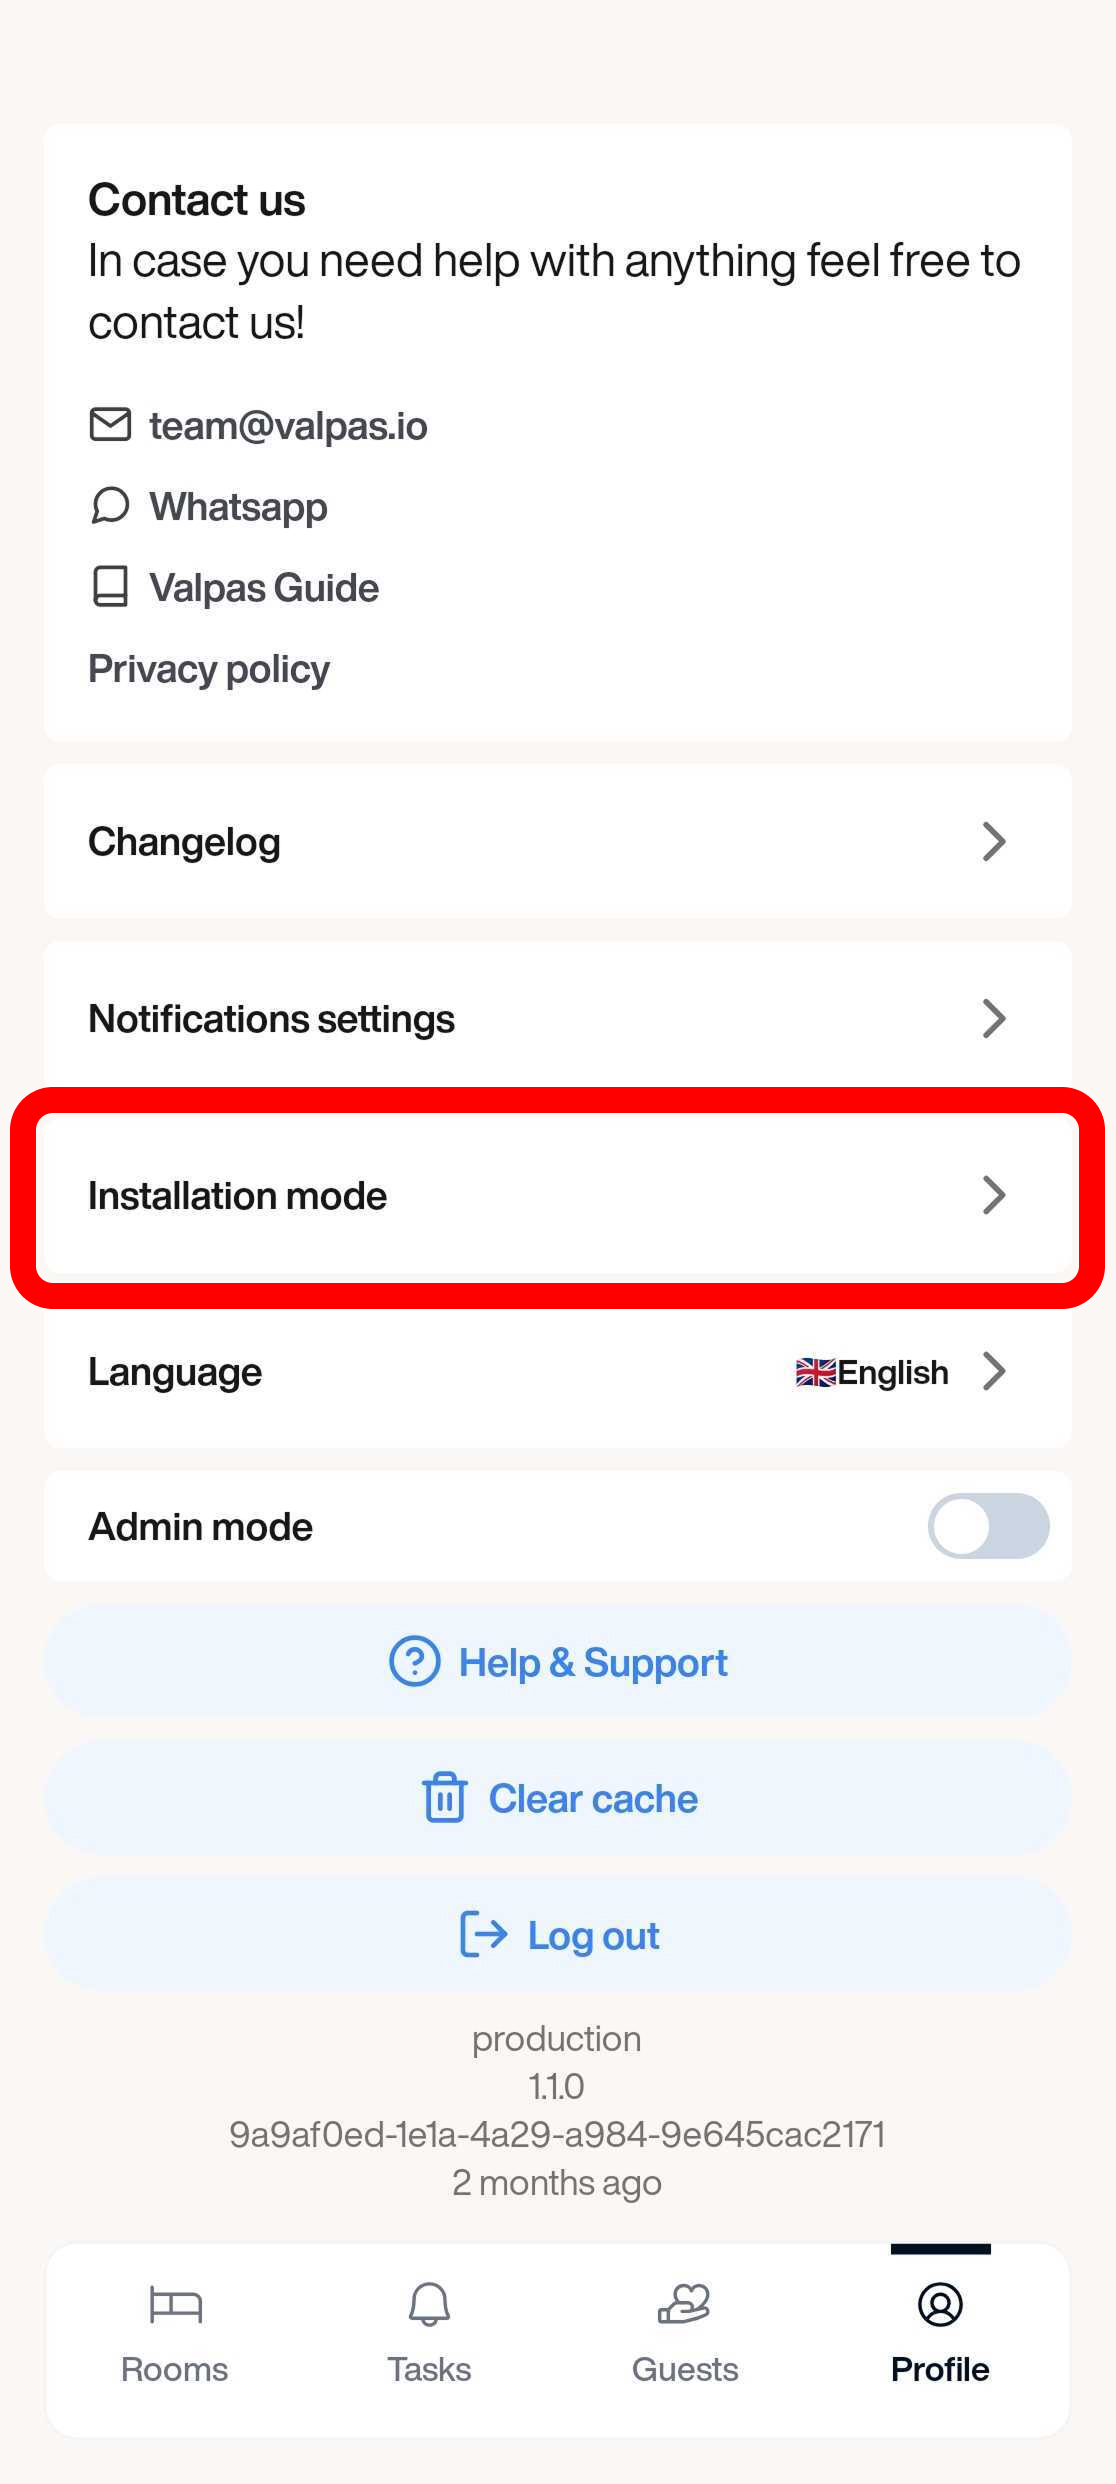
* Tap the **Profile** icon in the app.
* In the profile menu, select **Installation mode** to begin the configuration process.
{% endstep %}
{% endstepper %}
## Step 2: Add rooms and beds
{% stepper %}
{% step %}
### Add a room
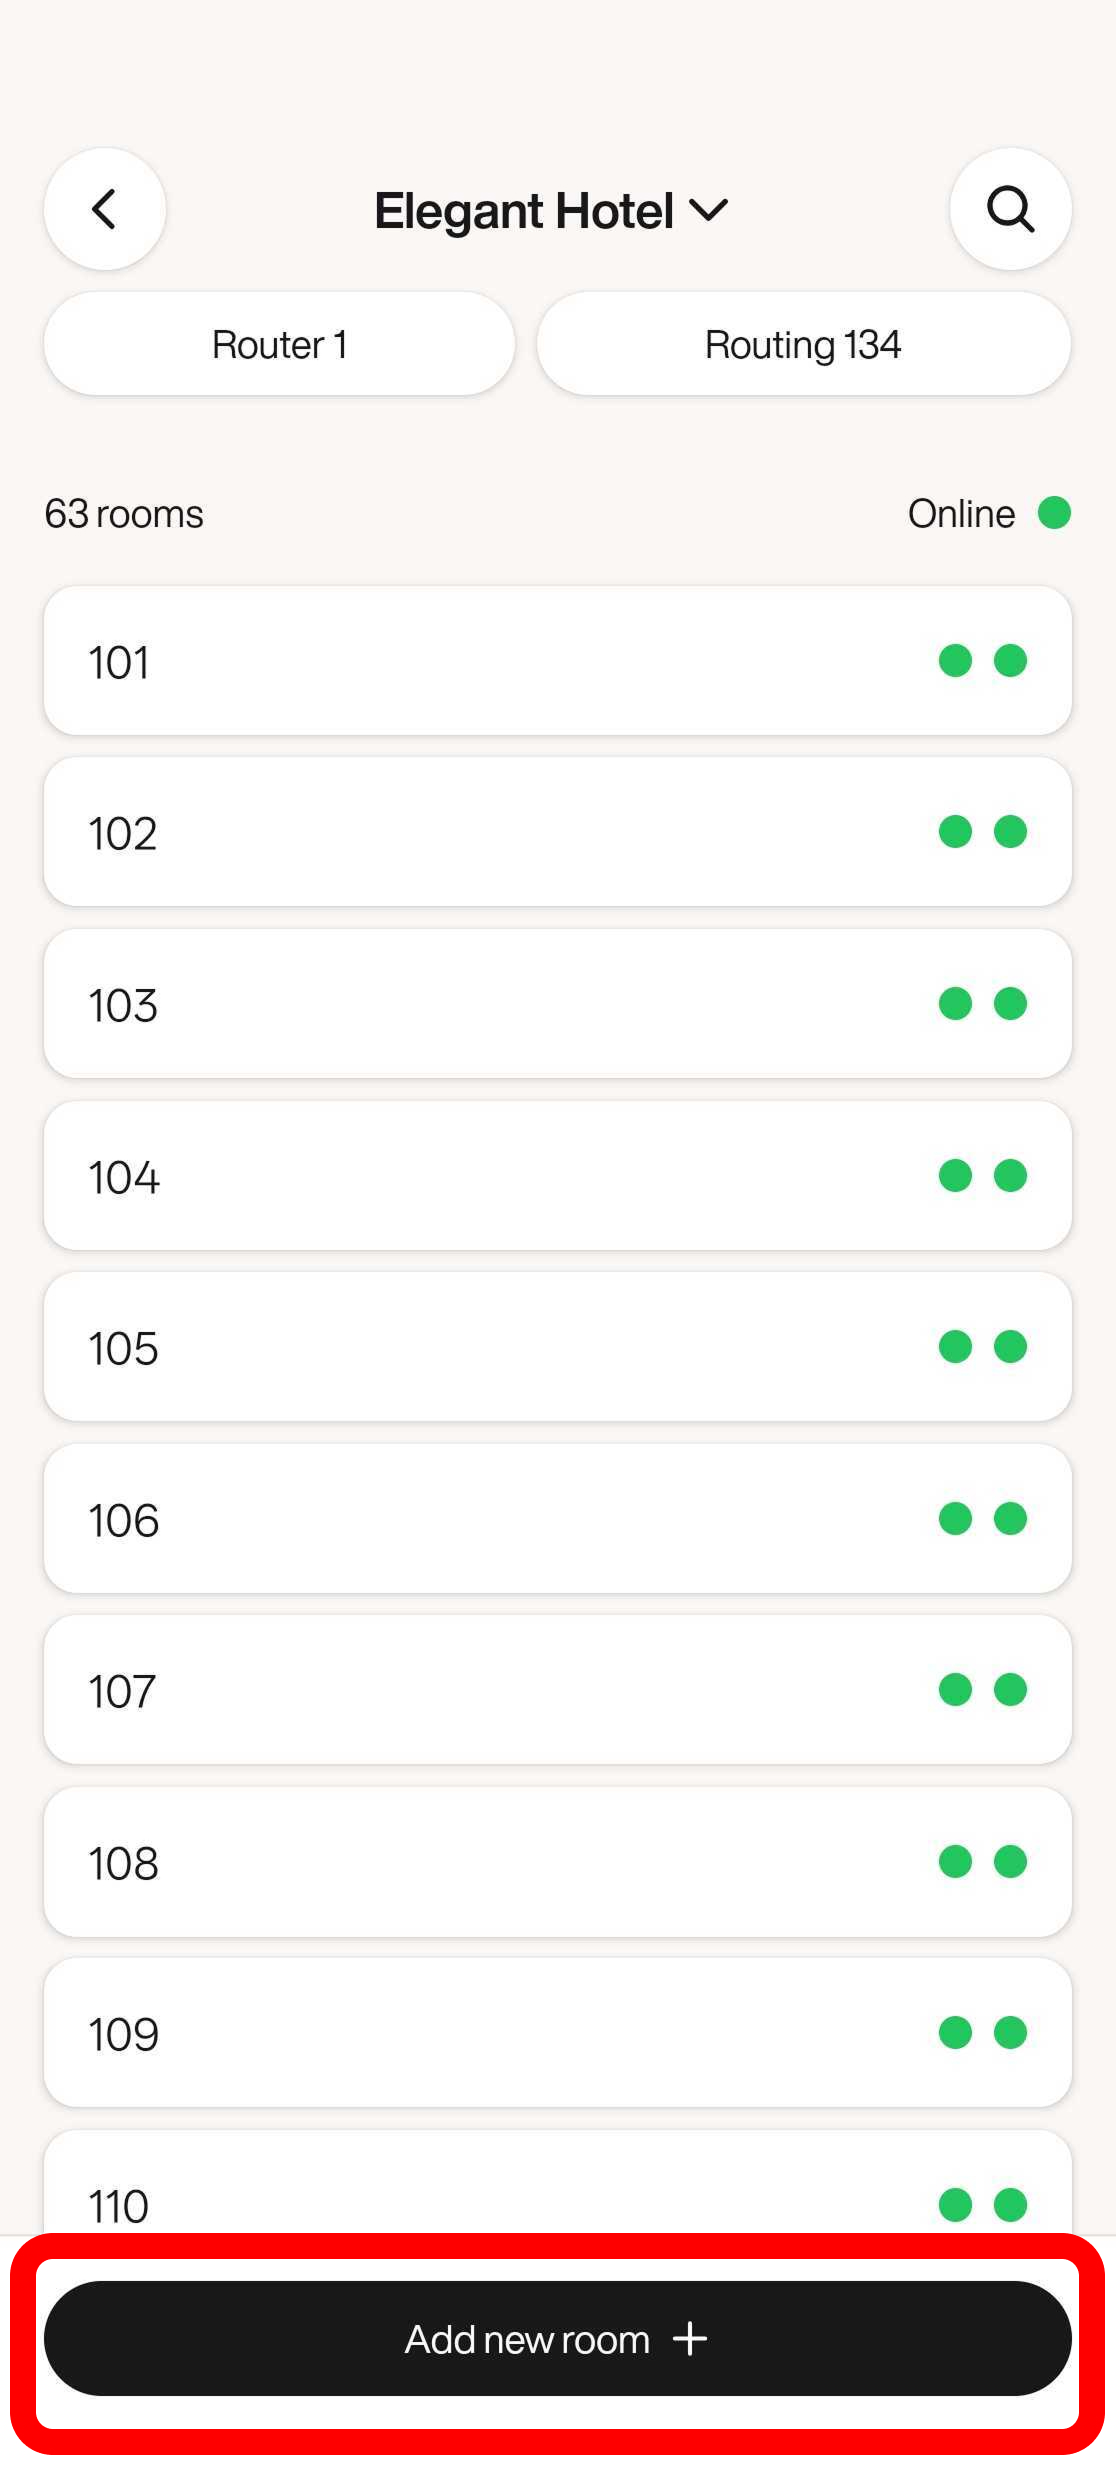
Tap the **Add new room** button at the bottom of the screen to add a new room.
{% endstep %}
{% step %}
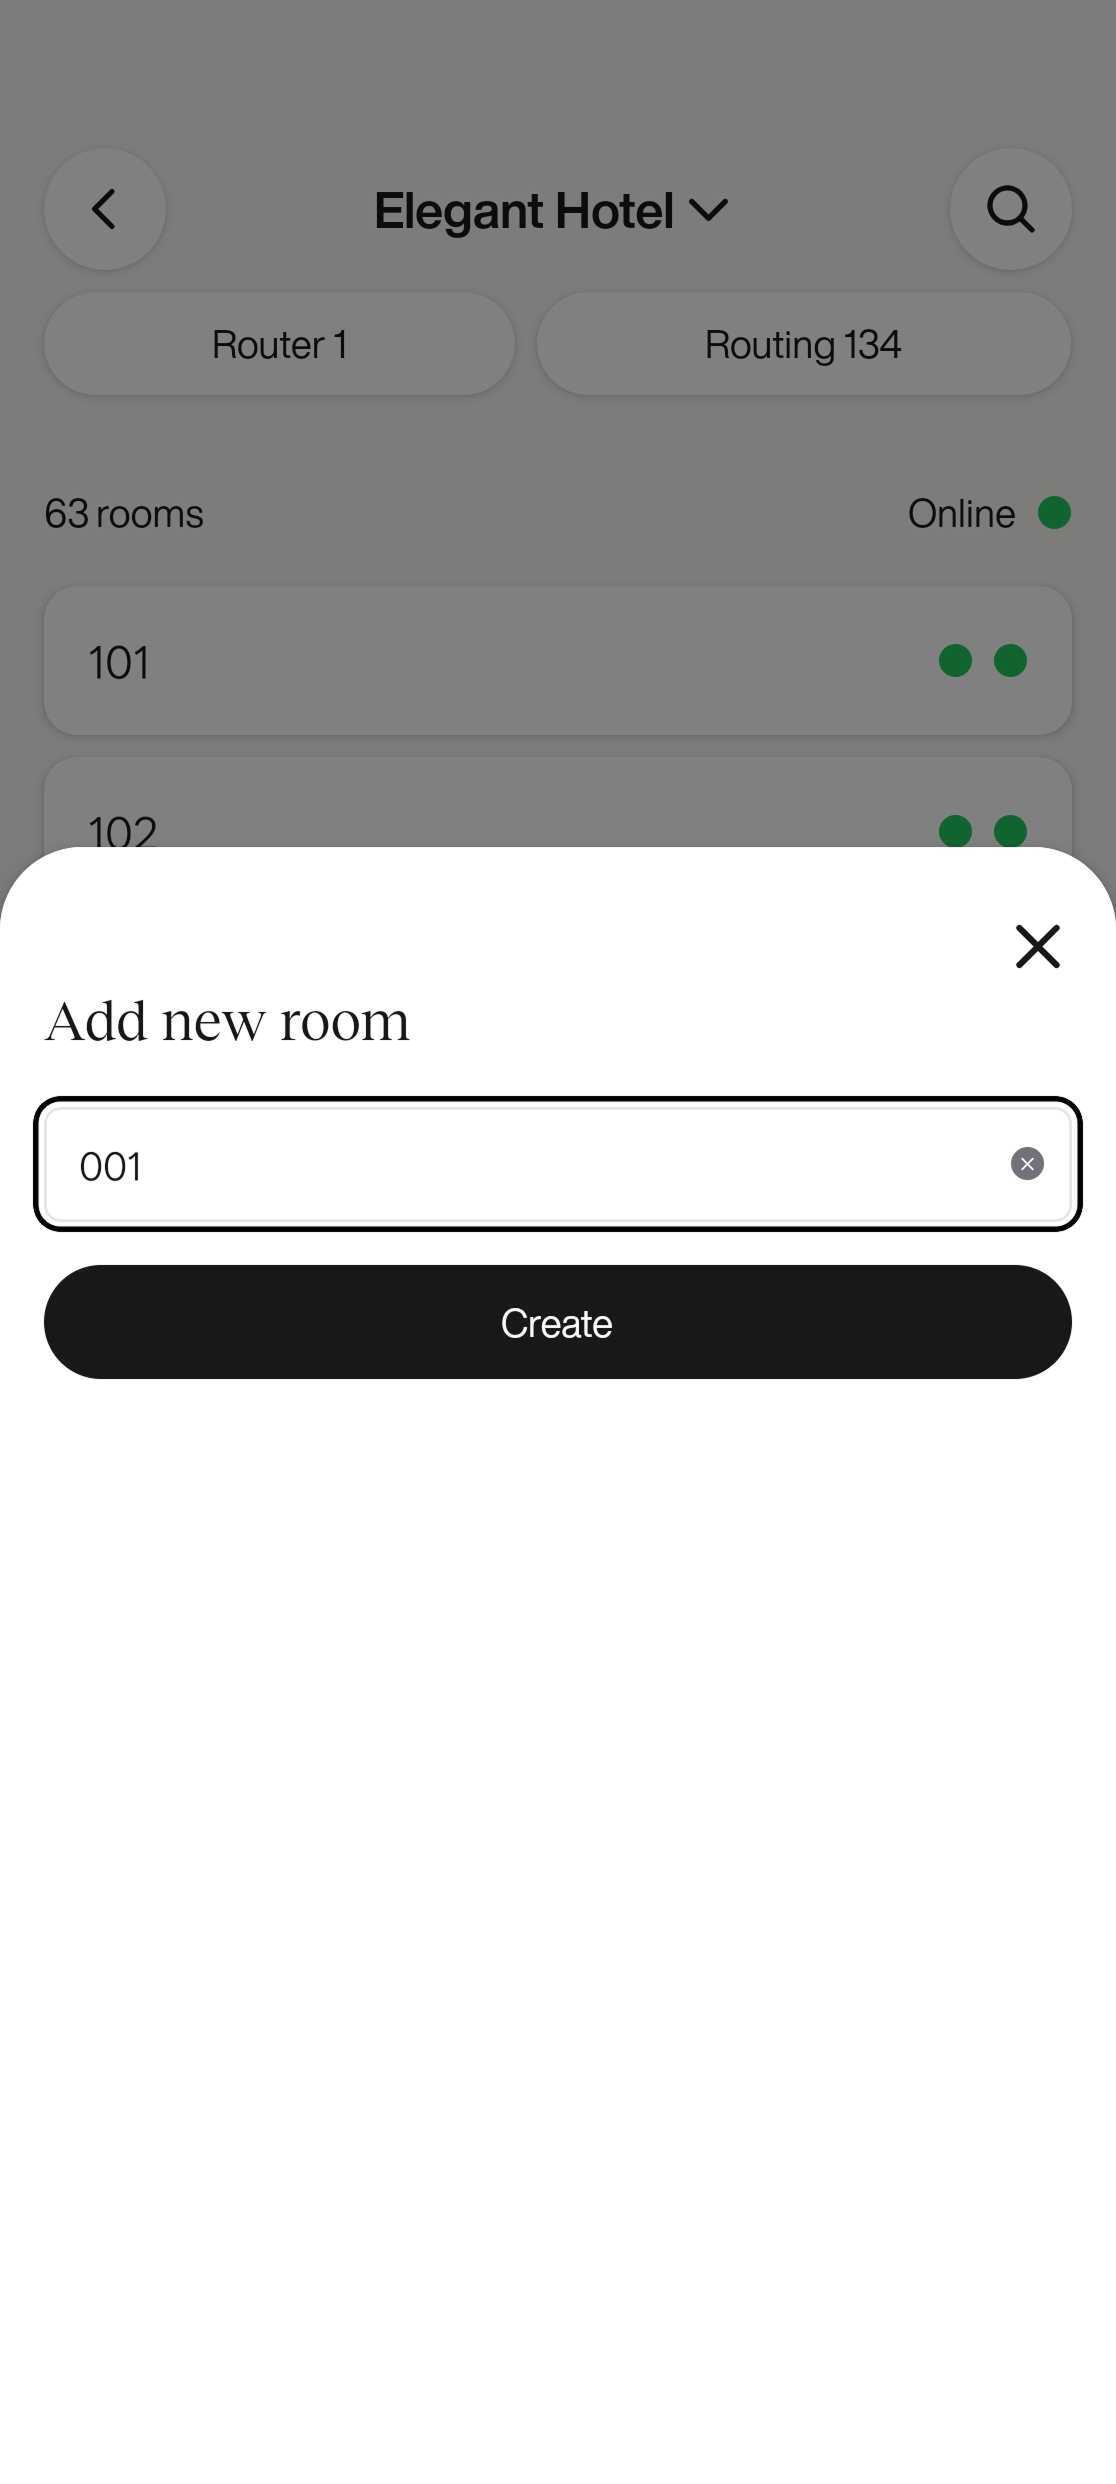
### Name the room
Enter the name of the room where you’re currently installing the Valpas SafeSleep bed legs.
{% endstep %}
{% step %}
### Add a bed
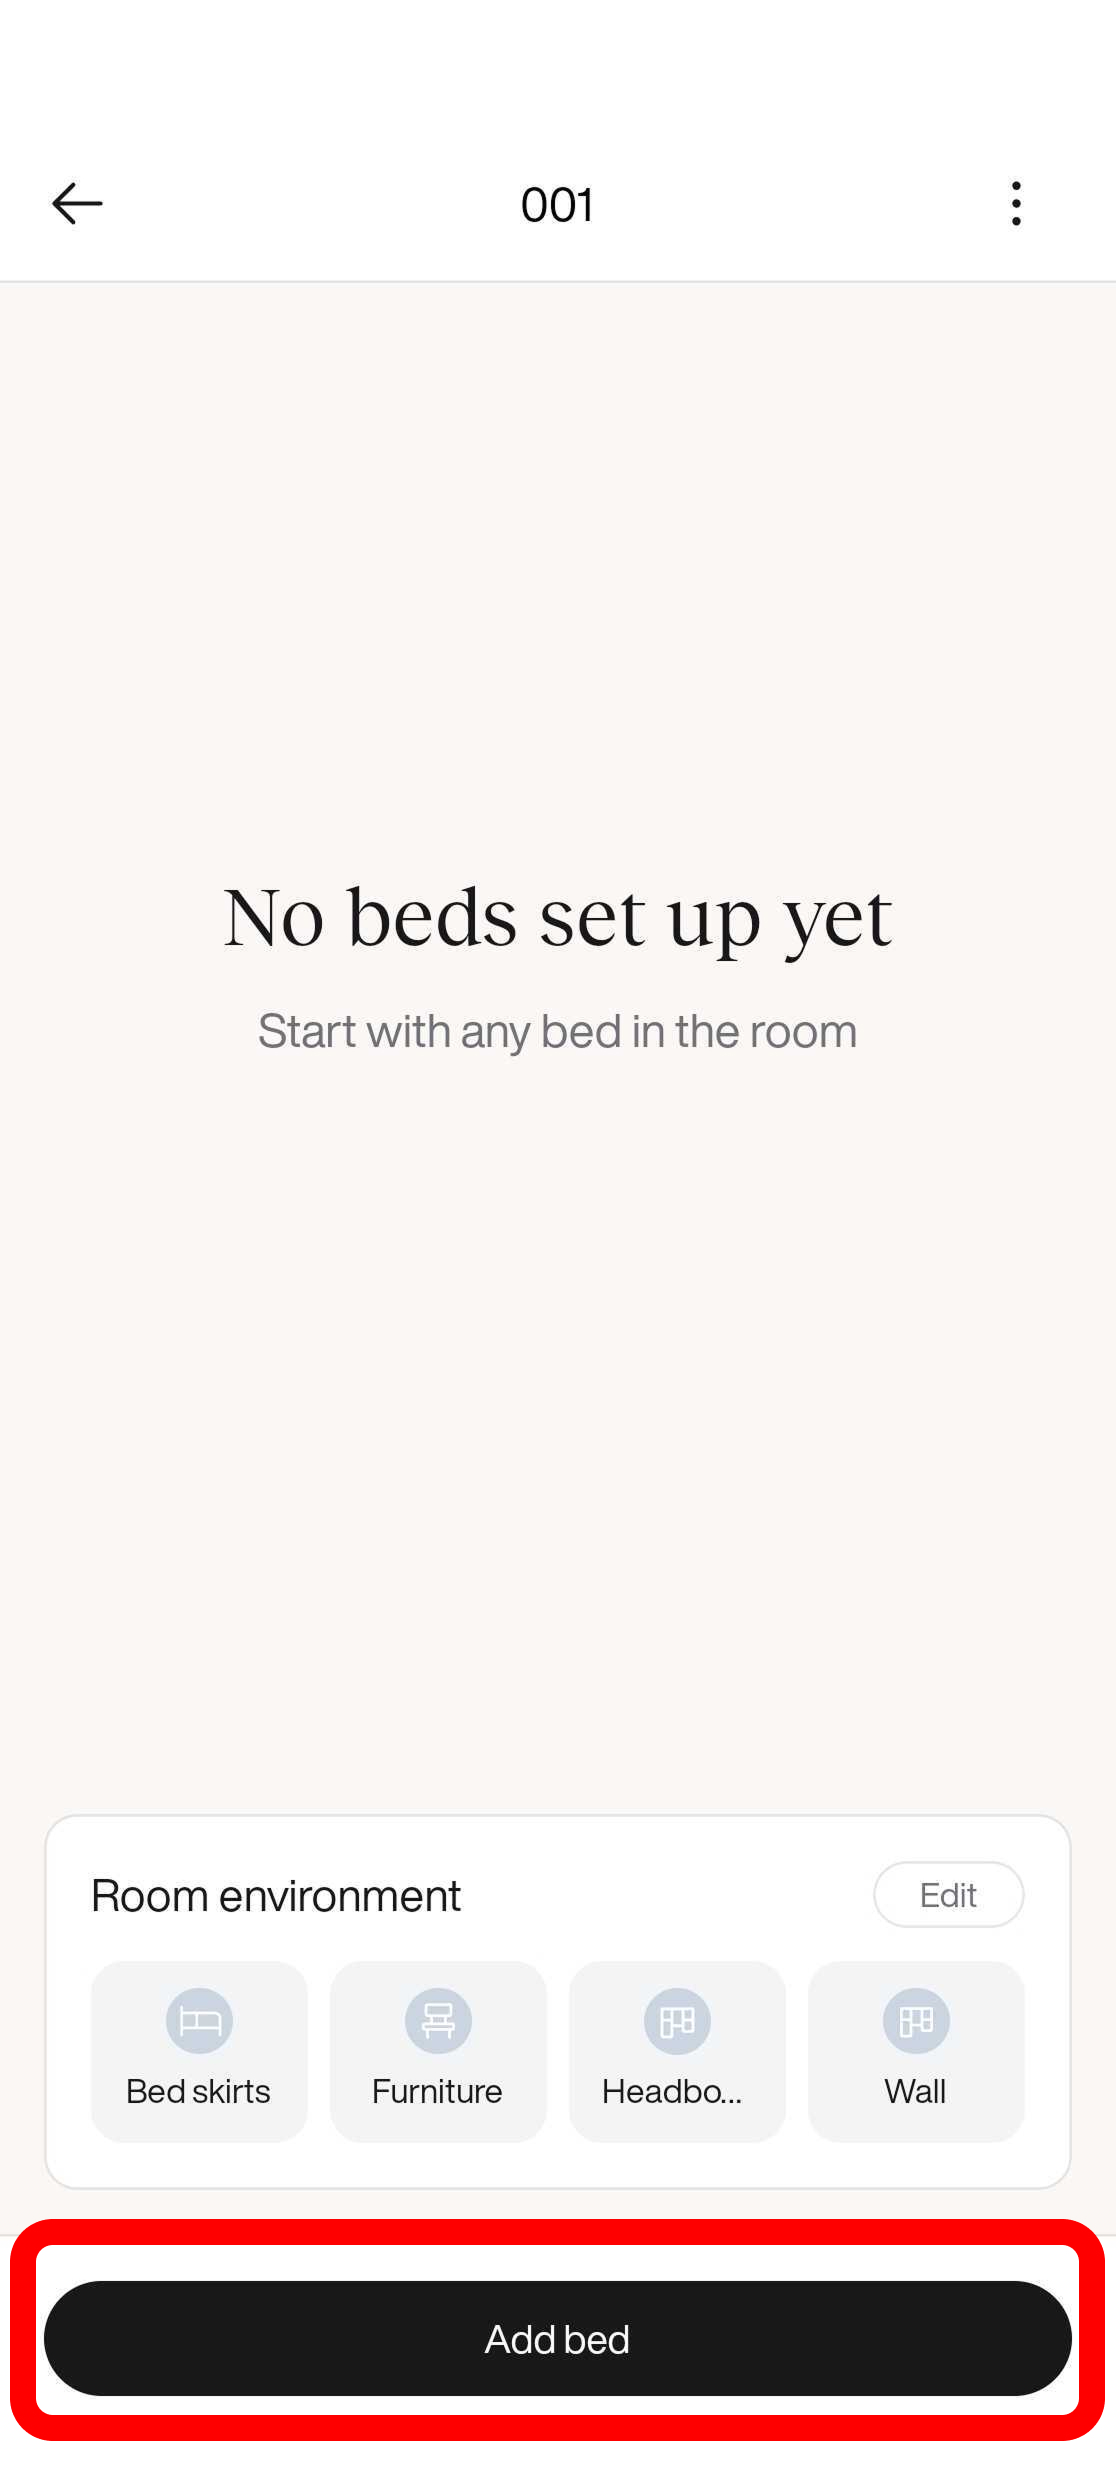
Tap the **Add bed** button to add a new bed to the room.
{% endstep %}
{% step %}
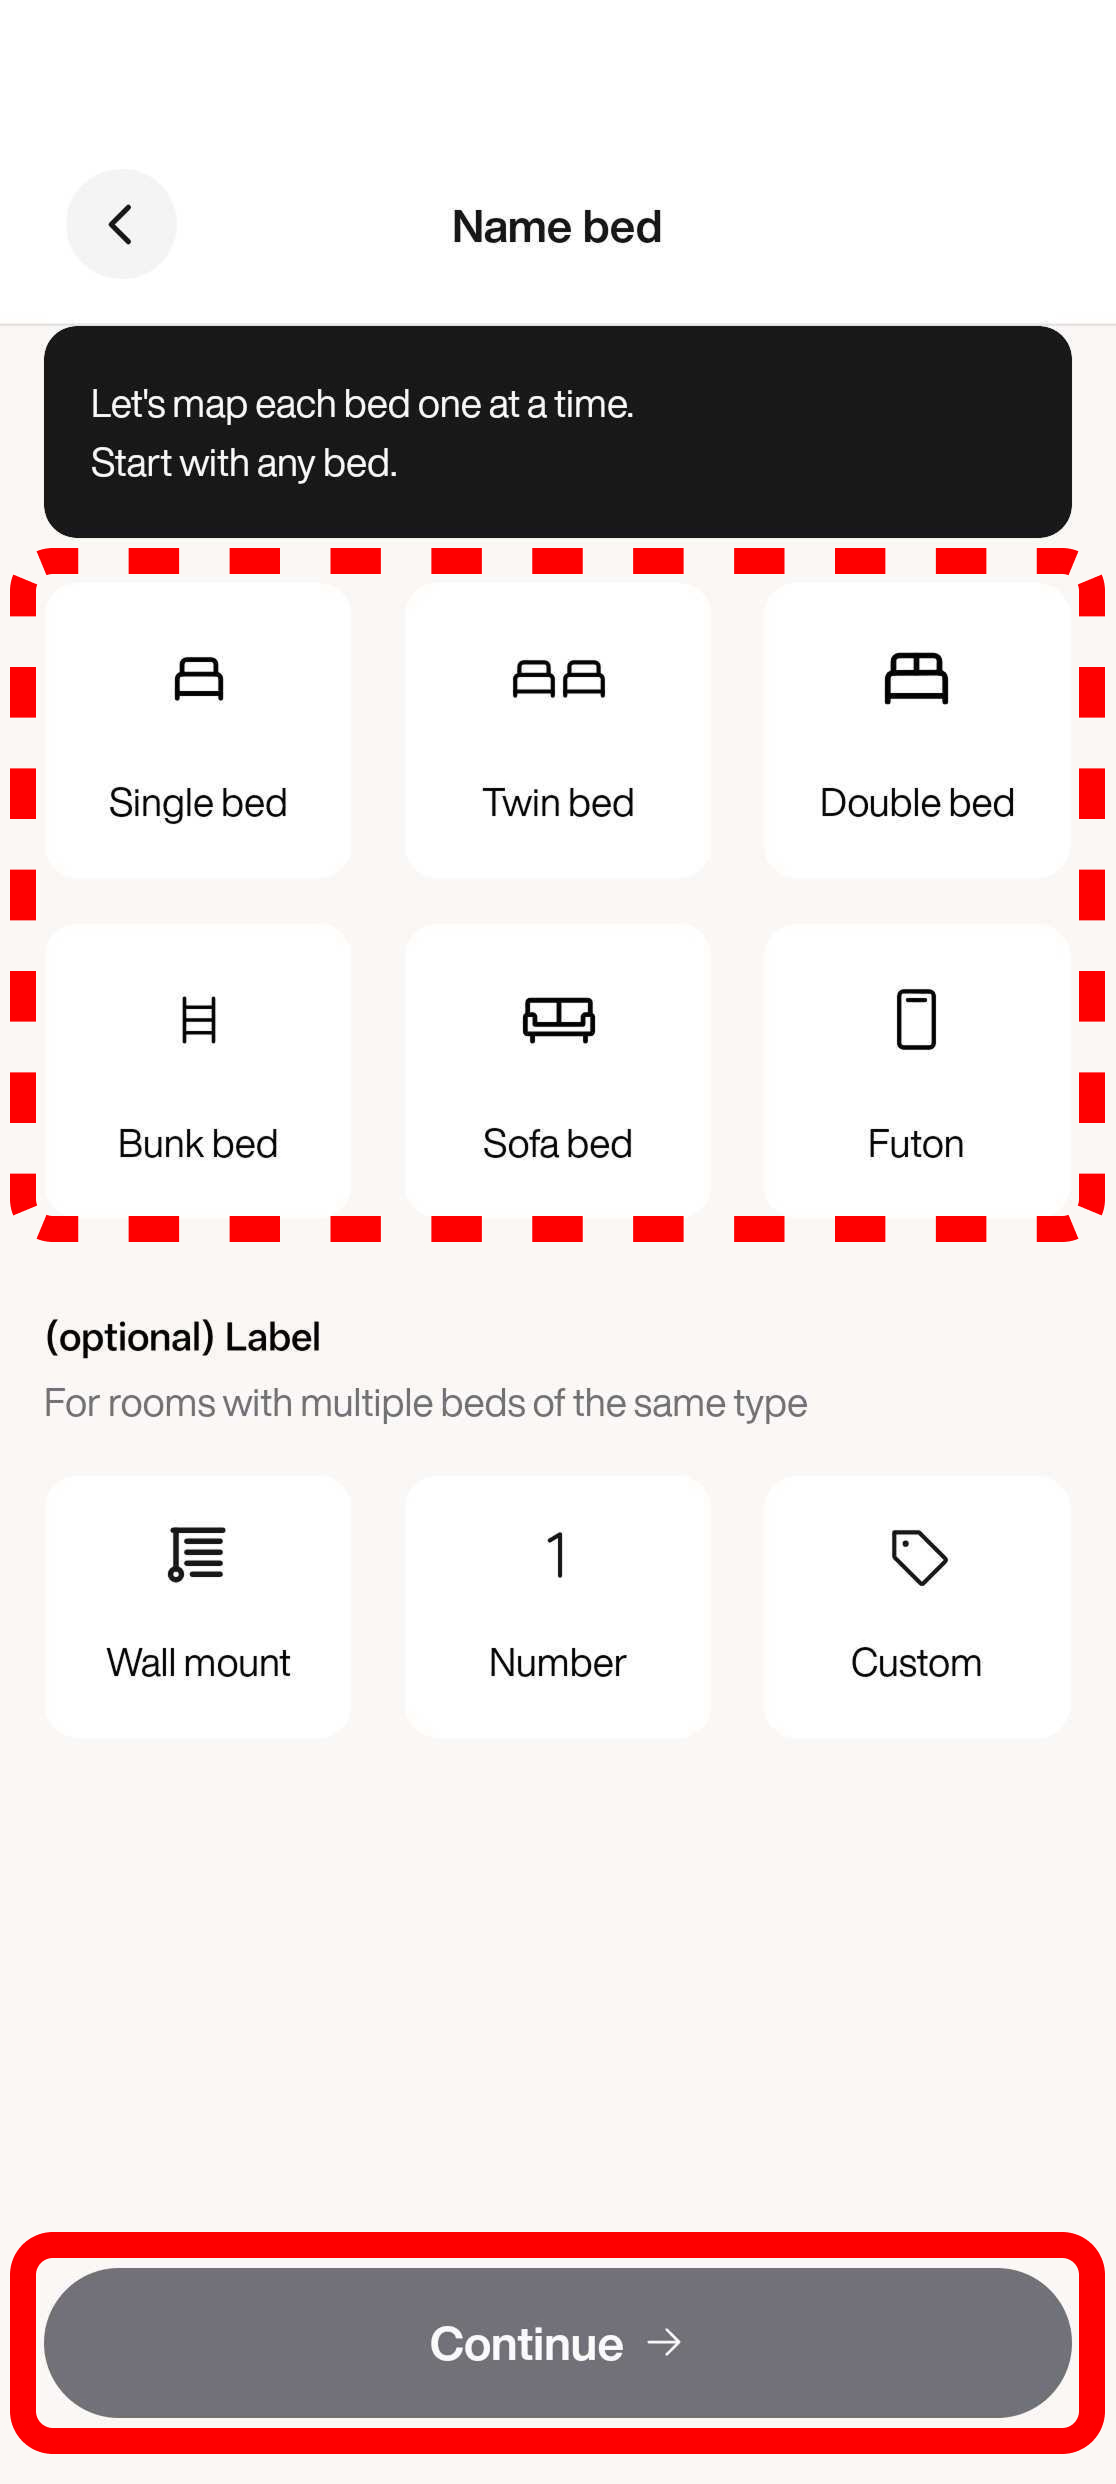
### Configure the bed
Pick the bed type and label that describes the bed so that you can easily identify it later and press **Continue**.
{% endstep %}
{% endstepper %}
## Step 3: Configure the SafeSleep bed legs
#### **Remove the cassette**
{% stepper %}
{% step %}
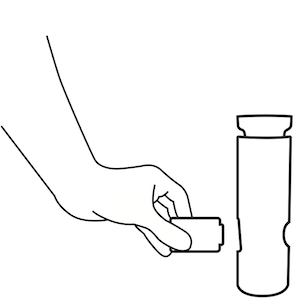
### Remove the cassette
Gently remove the cassette from the SafeSleep bed leg you’re installing. To do this, push the module out of the leg.
{% endstep %}
{% step %}
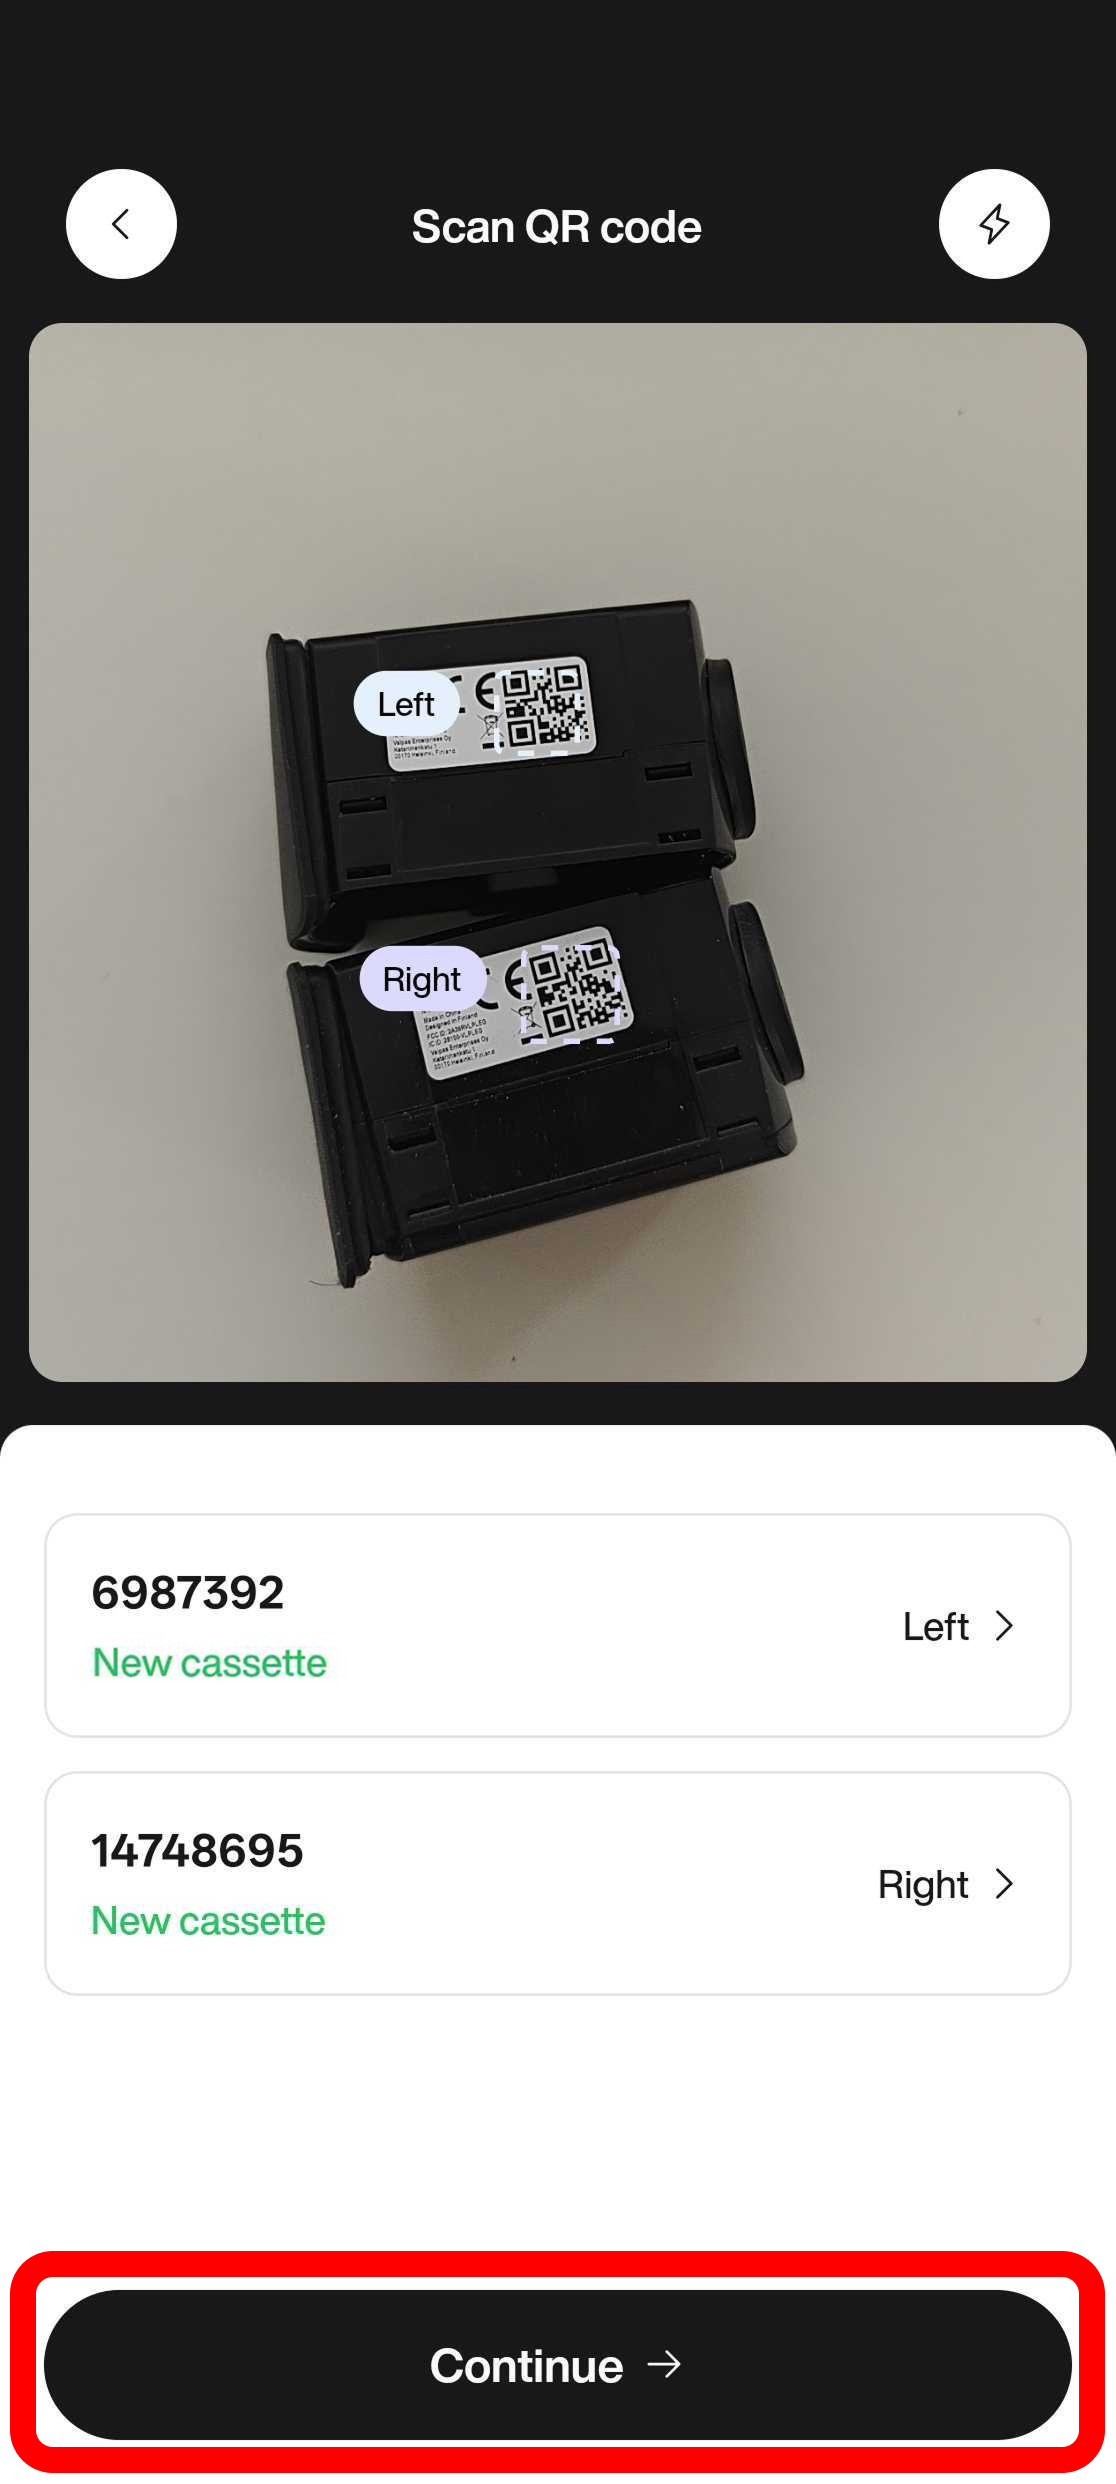
### Configure it with the Valpas mobile app
Scan the QR code on each cassette. The app identifies the cassette and assigns it a position automatically, so each SafeSleep bed leg is mapped to the correct side of the bed.
To change a position, tap the **Left** or **Right** label next to the cassette. Once both cassettes are scanned, tap **Continue**.
{% endstep %}
{% step %}
### Remove the battery strip
Carefully remove the battery strip from the cassette to activate the module.
{% endstep %}
{% step %}
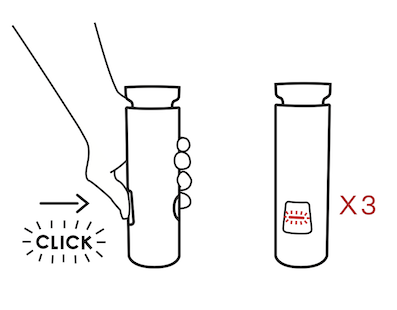
### Reinsert the cassette and check for a red light
* Place the cassette back inside the SafeSleep bed leg. Ensure it is securely placed inside.
* Observe the cassette; a flashing red light indicates that the Valpas SafeSleep bed leg is installed correctly.
{% endstep %}
{% endstepper %}
{% hint style="danger" %}
**If the red light stays on or doesn't blink:**
* Remove the cassette from the leg and reinstall it. A blinking red light confirms the installation is successful.
{% endhint %}
Your Valpas SafeSleep bed legs are now installed and ready for use. If you encounter any issues [contact Valpas support](mailto:team@valpas.io).